Set-Up Free Let's Encrypt SSL/TLS with Nginx on Ubuntu
Posted on 5 Feb 2021

Photo by Franck
Installing Nginx
Because Nginx is available in Ubuntu default repositories, it is possible to install it from these repositories using the apt packaging system.
Run the following command to update the local package index and install Nginx.
sudo apt-get update
sudo apt-get install nginx -y
Adjusting Firewall
The default firewall configuration tool for Ubuntu is ufw. Developed to ease iptables firewall configuration, ufw provides a user-friendly way to create an IPv4 or IPv6 host-based firewall. By default UFW is disabled.
Run the following command to turn ufw on with the default set of rules.
sudo ufw enable
List the application configurations that ufw knows how to work with by running the following command.
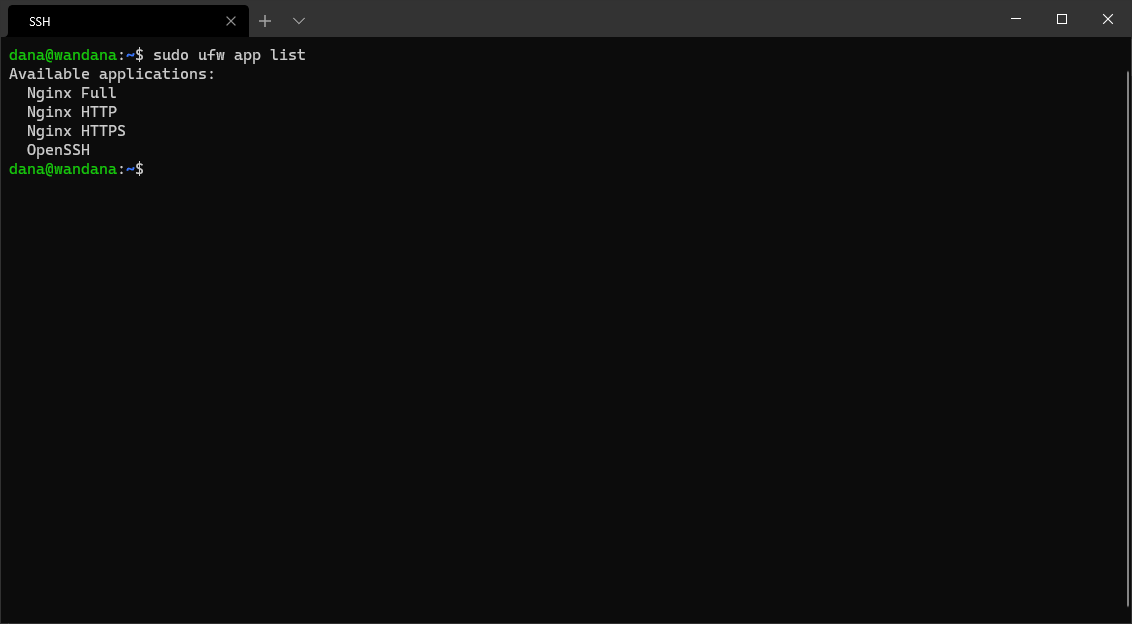
sudo ufw app list
You’ll get a list output like this.
Run the following command to allow Nginx and OpenSSH so we can use ssh later into Your server.
sudo ufw allow "Nginx Full"
sudo ufw allow "OpenSSH"
View ufw status, by running the following command.
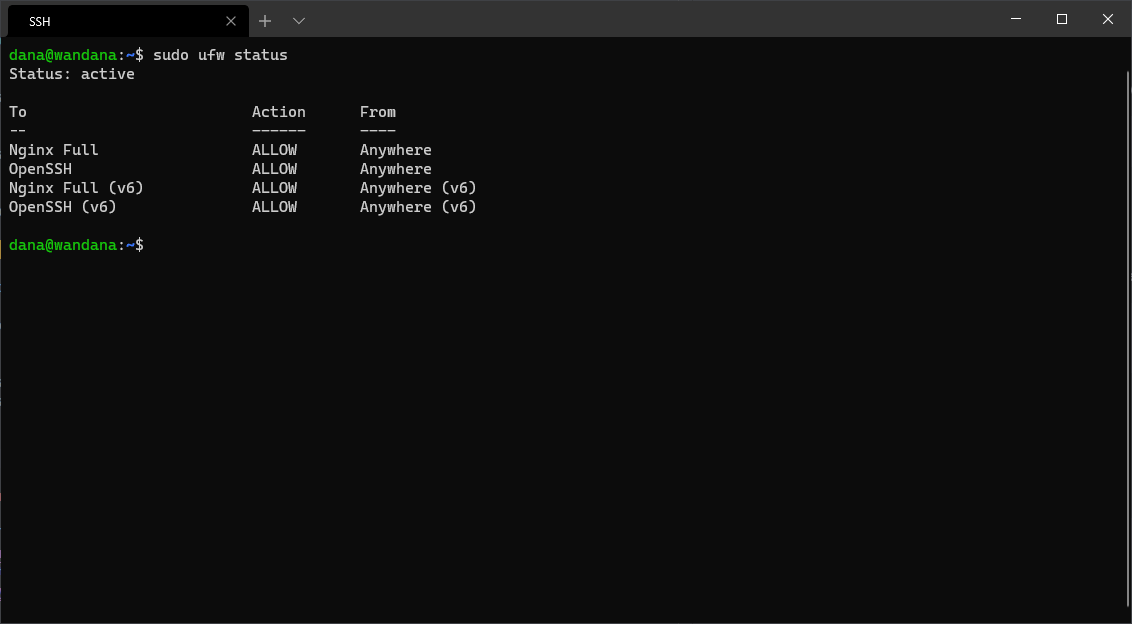
sudo ufw status
You’ll get a list output like this.
Verify Nginx is Running
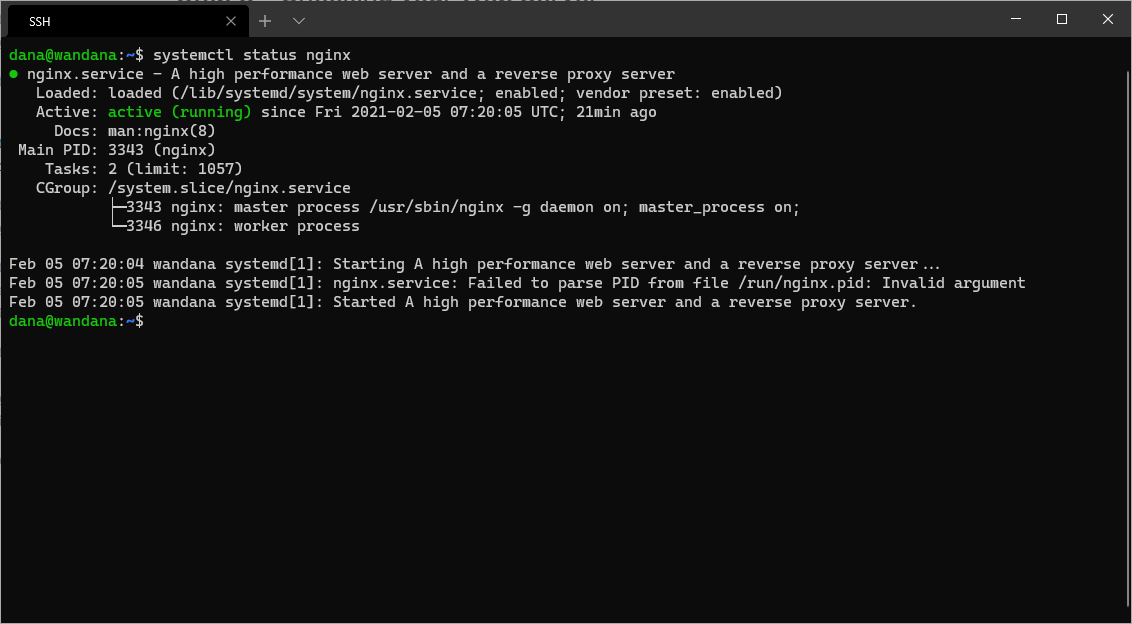
sudo systemctl status nginx
After you run that command, You’ll see Nginx service status like this.
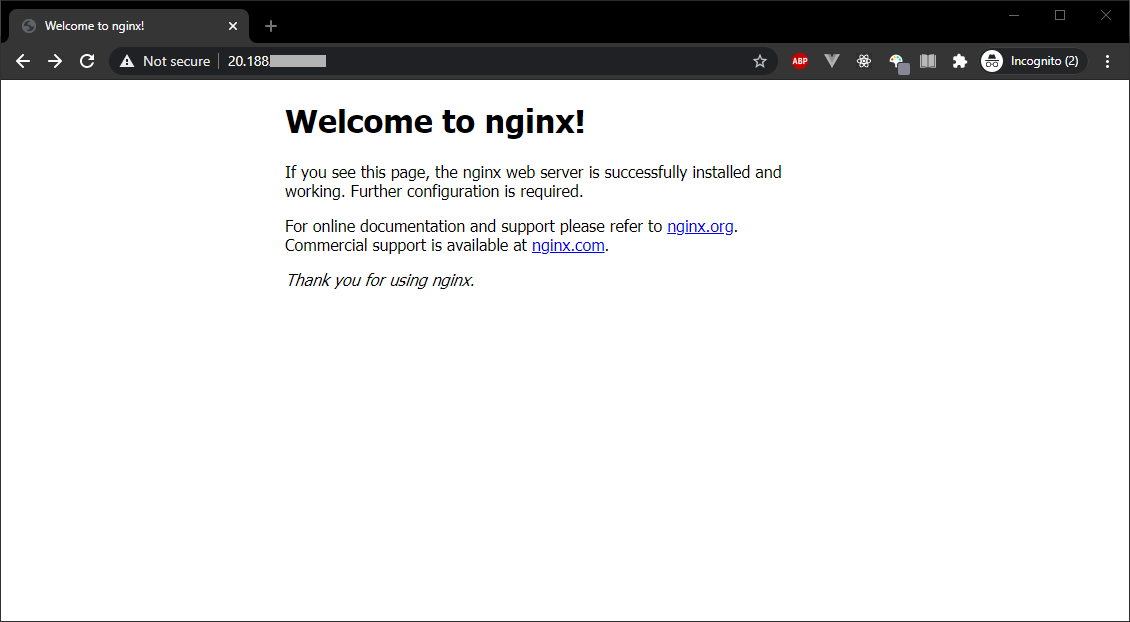
You can point Your browser to Your server IP address and You’ll see a welcome message from Nginx.
Get Free Let’s Encrypt SSL/TLS Certificate
Pointing type A record into a domain
Before you begin, you need to pointing server IP into a domain (main) and subdomain (www). For example, you can see the following image.
Install snapd
By default Ubuntu distro is already pre-installed snapd, but you can check manually or read the instruction on how to install snapd on snapcraft’s site to install snapd.
Ensure that Your version of snapd is up to date
Run the following command, to ensure that you have the latest version of snapd.
sudo snap install core
sudo snap refresh core
Remove certbot-auto and any Certbot OS packages
Run the following command to remove any Certbot OS packages.
sudo apt-get remove certbot
If you previously used Certbot through the certbot-auto script, you should also remove its installation by following the instructions on Uninstalling certbot-auto.
Install Certbot
Run the following command, to install certbot.
sudo snap install --classic certbot
Prepare the Certbot command
Run the following command, to ensure that the certbot command can be run.
sudo ln -s /snap/bin/certbot /usr/bin/certbot
Choose how you’d like to run Certbot
Choose one how you’d like to run certbot:
- Just get a certificate, or
- Get and install the certificate.
You’ll be prompted for:
- Email, for renewal and security notices,
- Confirmation to read the Term of Service,
- Confirmation to add Your email address to EFF mail list,
- domain name, that already pointing to type A record with comma or space separated. eg:
app.wandana.codes, www.app.wandana.codes.
Just get a certificate
If you’re feeling more conservative and would like to make the changes to Your Nginx configuration by hand, run this command.
sudo certbot certonly --nginx
Get and install certificates
Run this command to get a certificate and have certbot edit Your Nginx configuration automatically to serve it, turning on HTTPS access in a single step.
sudo certbot --nginx
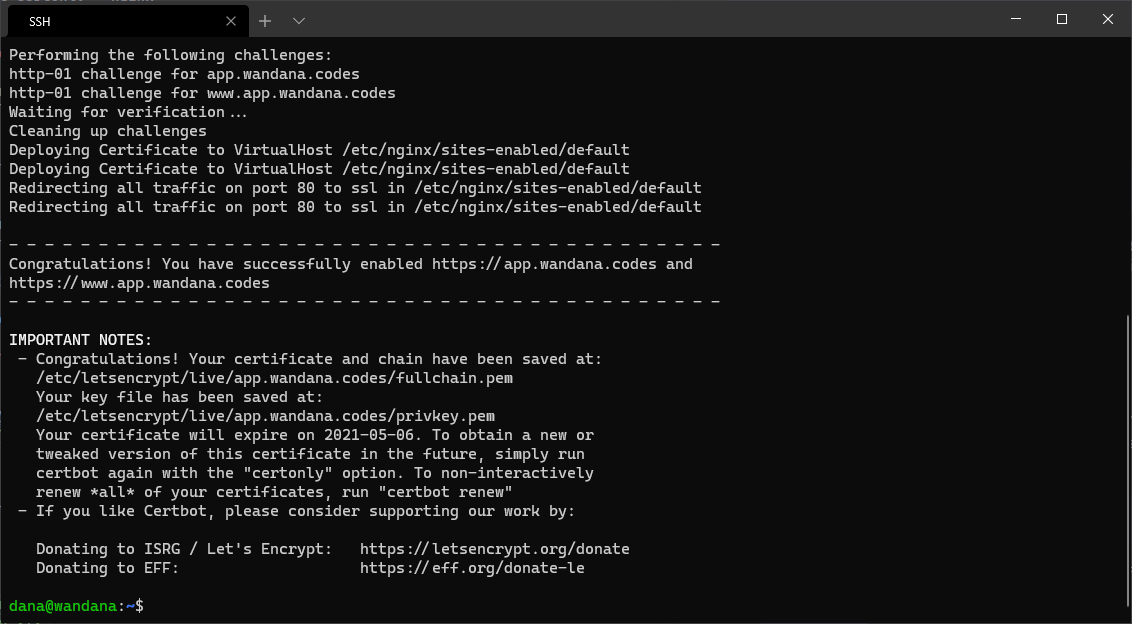
If there’s no error during requesting SSL/TLS certificate, You’ll get a message where are Your certificate and chain file located, also when Your certificate will expire like this.
Test automatic renewal
The Certbot packages on Your system come with a cron job or systemd timer that will renew Your certificates automatically before they expire. You will not need to run certbot again unless you change Your configuration. You can test automatic renewal for Your certificates by running the following command.
sudo certbot renew --dry-run
The command to renew certbot is installed in one of the following locations:
/etc/crontab//etc/cron.*/*systemctl list-timers
Confirm that Certbot worked
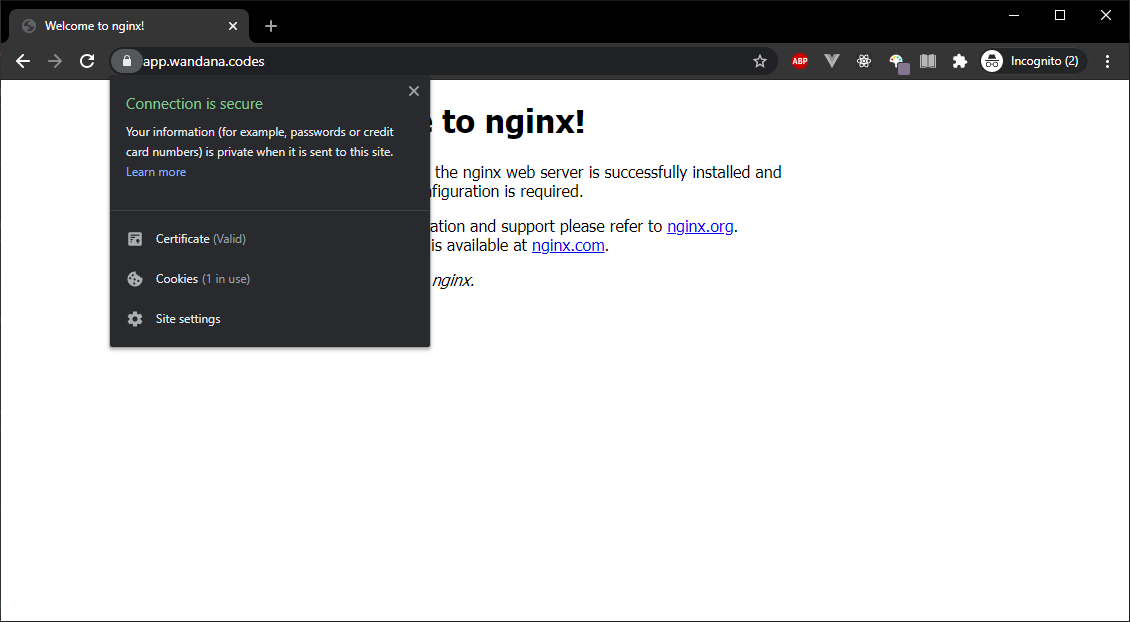
To confirm that Your site is set up properly, visit https://domain.tld/ or https://www.domain.tld/ in Your browser and look for the lock icon in the URL bar.
